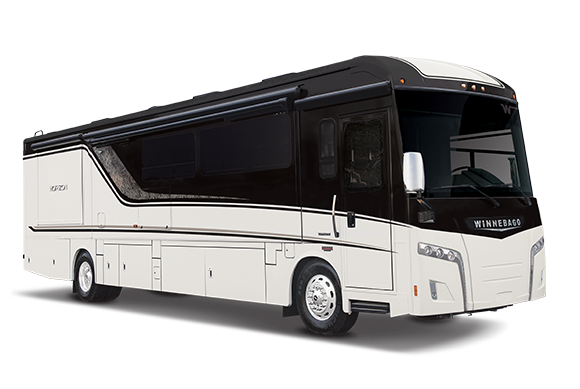
Being prepared and following a checklist can minimum frustration and prevent setup errors or missing a step. The following setup checklist applies to all Class A motorhomes. Be sure to consult your owner’s manual for any additional steps necessary for your specific make and model. There is space on the printable form (PDF download below) to add any additional steps you need to include.
Prior to leaving home:
- Check propane (if applicable) level and fill up if needed
- Check all tank levels and if needed add some freshwater to be able to flush the toilet while traveling
- Make a list of all things you need while you are gone – clothes, supplies, meal plan, etc
- Put mail on hold or use a forwarding service
- Check all prescriptions and make a plan for how to get refills on an extended trip
Arrival at Campground:
- Check-in at the office to get parking spot information – be sure to ask about hookups and WiFi password as well as a map of the area
- Check black and gray water tank levels – if the site does not have sewer hookups, stop at the designated area and empty the tanks
- Check fresh water tank levels. If freshwater hookup is not available, be sure to fill up this tank as well
Arriving at the campsite:
- Inspect location for trees, fences, and other obstacles or hazards prior to parking
- Determine your parking plan for the site (pull-through or back-in)
- If you are towing, be sure to unhook before backing into the parking spot
- Use a spotter if possible to help back into the spot
- Turn on walkie talkies or use cell phones between spotter and driver
After Parking:
- Set the parking brake and purge all the air from the system
- Place the leveling blocks under the jacks so you don’t leave an impression on the asphalt
- Level the coach both laterally and lengthwise
- Deploy the steps
- Unlock slides and deploy (have someone outside watching in case space is a tight fit)
- If you have a surge protector – plug it in
- Connect shore power and make sure breaker is turned on
- Connect cable tv, freshwater, and sewer lines as needed and available
- Empty black water tank if needed and then close the tank
- Do NOT leave the tank open or you will quickly learn about the poop pyramid
- Turn on propane valves and check for leaks
- Set on the air conditioner or furnace
- Turn on the water heater
- Confirm the refrigerator is on and working
- Unlock all cabinets and remove all fasteners
- Set up all items that remain outside – grill, chairs, etc
- Raise roof-mounted antenna or satellite dish
- Set up inside area – coffee maker, ottoman, area rugs, etc.
- Double-check all systems are on and functioning as expected
Final Thoughts
Each coach is different and may have some additional equipment to turn on and test. Be sure to add those items to the PDF form after download. Once you print the checklist, put it in a plastic sleeve, or have it laminated at your local office supply store. We suggest you keep at least two copies of the checklist on your coach if one goes missing or is destroyed.
Having a checklist and checking it twice will help things run smoothly upon arrival and ensure nothing is missed during setup. Happy Camping!
 cklist